
This post discusses what I have done with a single photo taken in Joshua Tree National Park. (To see all of my Joshua Tree photos click here.)
To be honest, my editing is as much play as it is work!
I admit, also, that I produce many versions of one photo and do not always label them so as to recognize what edits an image contains. It is hard to tell which post-original versions had what process applied to it.
Note too— the versions of photos like this that I generate through editing are best thought of as branches off of a tree trunk, not as a linear development. Some honing is evolved, and that is a sort of linear process, but much of what I do is “Let’s see what happens if I try THIS.”
But here are some examples with some explanation.
BTW If you want to look at the photos and get a LOT of explanation, skip down to the end, where I have outlined my editing preferences
Here we go— You will find brief discussions of each of these image-versions below the image.
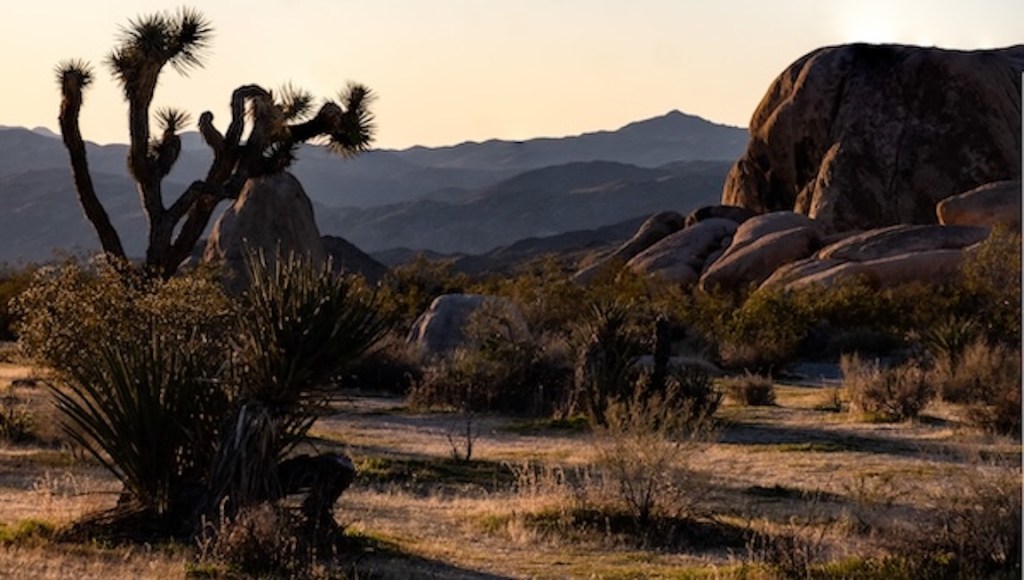
This exact edit is not my original but my favorite.
For more photos LIKE the one above and a high definition version of the exact edit, visit my Joshua Tree National Park gallery
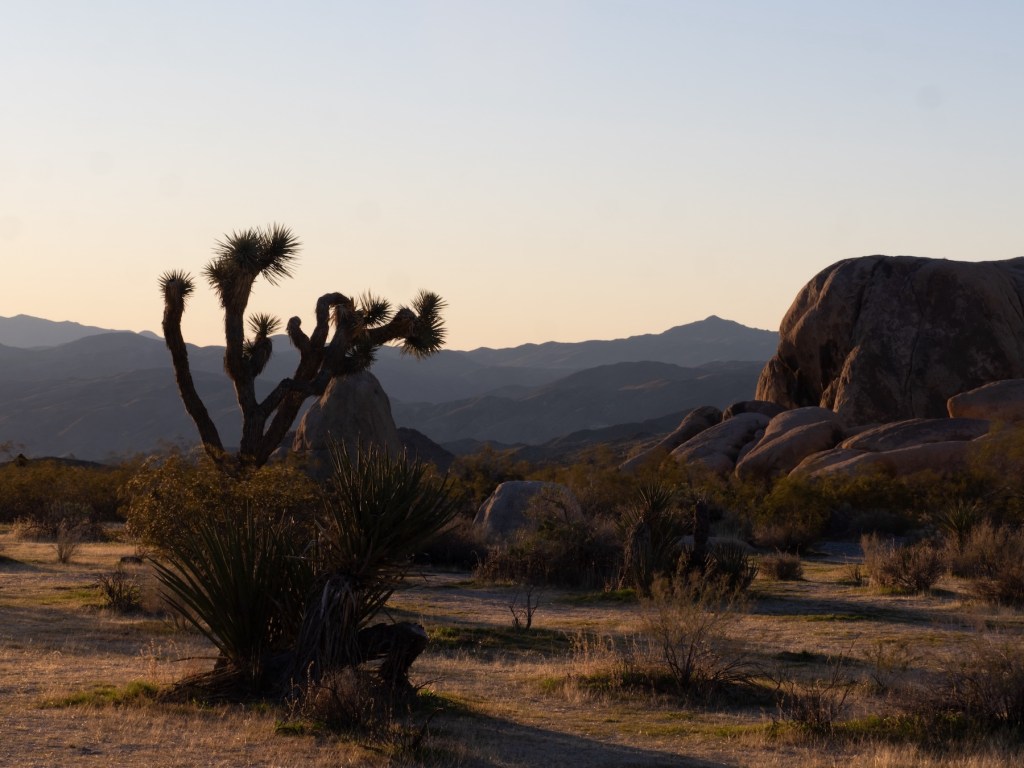
The image above is found only here: It is the original, no cropping or other editing.

Sky Replacement: The version above is the clearest move from realism toward art
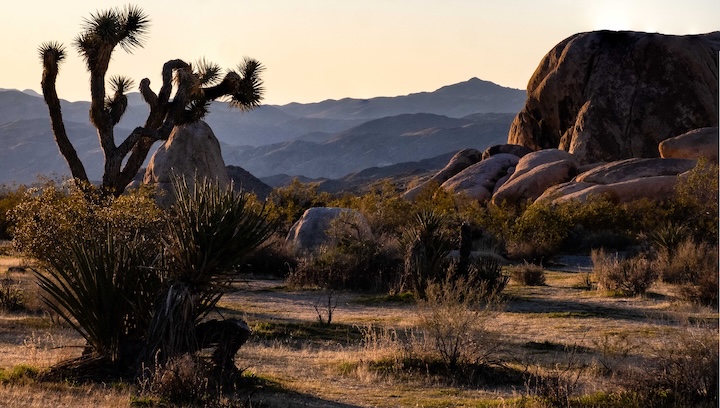
What is different about the Image above? Look carefully at the rock formation on the right, especially the lowest portion of it. To achieve this effect I added more light, but only to that space— using a “radial gradient” in Lightroom.
NOW, what do I do with my select photos? What tools do I use in “post-production”?
Using editing software
- Yes, these tools are available in Adobe software
- in Lightroom Classic— sharpening and denoising in the Details panel, in the Develop module), and vignetting (the kind you WANT)
- in Photoshop— AI tools such as “sky replacement”
- using both Lightroom and Photoshop— “focus stacking,”
- submitting to Photoshop a series of images whose contents overlap completely but which differ in which areas are sharpest.
- to produce a larger file (more data!) with a focus that combines the best of the “originals”
- BTW— This is new to me, but focus stacking a raw file and an ORI “sidecar” gives good results too
Despite all of the above, I find the next two better at reducing noise AND increasing clarity: a very hard balancing act
- Dxo Pure Raw
- Topaz Photo AI
- Want more?
- To read my thoughts about photography TECHNIQUES, including explanations of what they involved and how to use them, see this page on my WilcePhotos site.
- To see all of my Joshua Tree photos click here.
- To read about my my two day visit to Joshua Tree National Park AND coastal southern California to the , I have blogged about it. Click here to read that post.
Thank you for visiting! If this post has helped you, please tell me so, or “like” the post.

Leave a comment